Sunday 11 April 2010

The first hole - in the roof!


At last some good weather arrived at the weekend, so in went the first skylight (a Heki Midi). As we'd done this before, thought it would be a day's work at most.....

However, and in spite of reading blogs form a good few other Iveco builders, completely under estimated how long it would take to cut the profiles for the swaged panels in the roof - doh!


The timber battening went on after a few false starts with the profile - but got there in the end. Used Skiaflex 221 - genius grip quality!


Once the timber frame was sorted for the inside, decided to use a plastic trim to make a liner for the skylight and to take up the space in the roof channels. Eventually, and with plenty of packing out and Sika 221, the frame was done...


The Heki was pretty easy to fit - just needed a good bead of Sika 512 around the groove on the upper fitting and in it dropped - to be tightened down by the fixing brackets. For the next one to go up the front - I'll leave a couple of days or at least start on the wooden profiles first!

Saturday 10 April 2010

The build starts - slowly...


Having sorted out some of the basics on the base vehicle, we started on the long process of a design. We knew what we had to have (fixed bed, big storage, balanced energy system) and went back to a book that was an inspiration when we did our Dodge - Travel vans by John Speed http://www.travelvans.co.uk/ Although it's based on a Mercedes 609 almost all the ideas are transferrable. After lots of forays with graph paper, we ended up with some plans by using Google Sketchup - a cracking bit of free software. The link below is to a series of PDF images but you should be able to get a sense of what we're after!

https://docs.google.com/fileview?id=0B_V1FolpsOx6MjY4ODBmY2MtN2E2ZS00NjE0LThlNDItNjE5MjUzZjkxMDI5&hl=en

Thanks to our good friend Isabel who helped out with using Sketchup - she's a top artist too and you can see her work at:


We also made extensive use of the experience and advice to be found on the Self Build Motor Caravaners Club (SBMCC) http://sbmcc.co.uk/forum/ - this site is a real gold mine and the good folk that post there are really friendly and helpful - although we've only just started this blog in April 2010 along with the build proper, a substantial amount of lurking has been going on since last year - and a lot of useful learning in the process - not to mention finding some absolute bargains in the for sale section!

Insulating the floor was the first proper job. Having decided to leave the original 18mm ply on the floor, we looked at lots of alternatives to get good thermal properties and not lose too much head room. In the end we went for closed cell thermal matting from the Outdoor Mega Store - http://www.outdoormegastore.co.uk/ very good value!


On top of that we laid 12mm ply - resulting in a quieter and warmer floor. Although the walls and ceiling will eventually be spray foamed, the grey material you can see on the wheel arches and on some panels is an anti drumming tape (otherwise known as flashing tape form Screwfix - works a treat!).


The ply boxes around the wheel arches will be filled with a plastic based insulation material as some of the service pipe work and cabling will run through them.

How it all started....


After having built a camper on an old Dodge S50 series some years back, and having missed the traveling life, in August 2009 we decided we'd have another go - with the intention of getting it finished by summer of 2013.

After lots of research on base vehicle types, we plumped for a 3 litre diesel Iveco Daily, long wheel base, and
twin rear wheels. We liked the space, head room and good ground clearance - plus rear wheel drive. Having hired a Ducato camper in May of 2009 to see what a commercial build had to offer, we were underwhelmed by the really poor reversing capabilities on grass and a slight incline - given the sorts of places we were used to going. After reading loads of blogs about this model in particular, and front wheel drives in general, it had to be a rear wheeler!

We eventually tracked down the sort of Iveco we were looking for and took it for a test drive - this is it on the day! We got it from http://www.sloughvan.com/ - nice people to do business with!

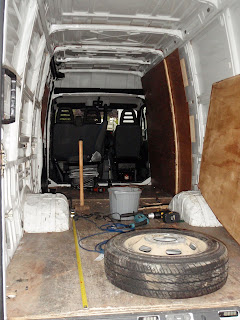
These vans are cavernous - and there's a high top version with even more room than this - but we decided that this would be plenty!

After getting the van home we decided to sort out some of the basics before we started on the conversion. This included rust proofing the underside as the floor pan was in good nick and a liberal coating of Waxoyl would help keep it that way. Having toyed with the idea of doing it ourselves (and remembering the mess made just doing some wheel arches) we went down to Poole to see Phil at Rustbusters who did a cracking job! http://www.rustbusters.co.uk/


The next job was to sort the tyres out. We're likely to get off road some of the time and the low profile cheapo tyres the van came with weren't doing us any favours- so we upgraded to some 205/16 Mud and Snows from Nexen - better grip, better ride and more ground clearance! You can se below the difference in size - that's the inflated original spare on top of an un-inflated second hand M&S (another e-bay bargain!)


After the tyres were sorted we started looking for a single passenger seat to replace the double one as we will be making a bulkhead and need the space to walk through. After a few weeks on e-bay, managed to get one for £10 - bargain! It was easy to fit too, as although the seatbelt mount was on the wrong side, a bit of judicious drilling soon found the left hand drive belt mount under a plate - good as new! Well, not really, as both the seats are a bit tatty - but we found a great company that makes proper cloth ones http://www.van-seat-covers.com/ - much more comfortable!

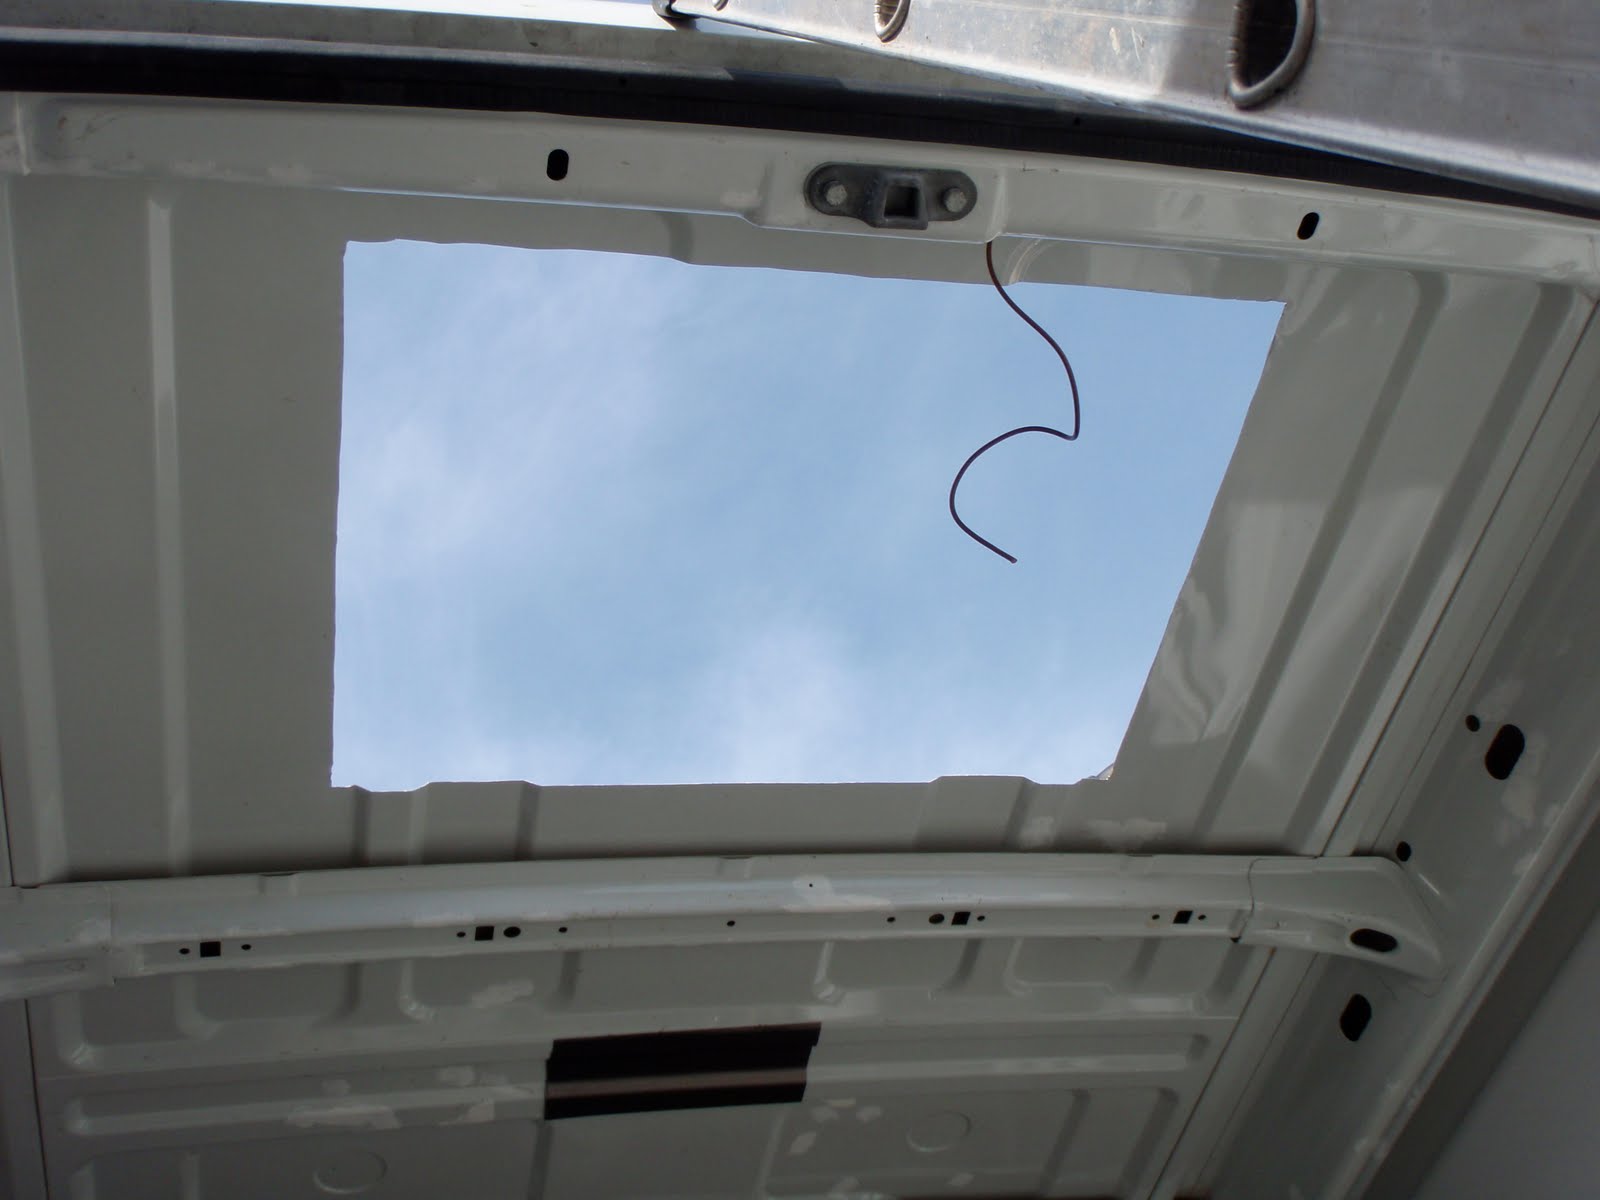
At the same time we stripped out the original wall and ceiling ply lining and the ply bulkhead - leaving the floor to be insulated and built up on the original ply.